Image of Mr Playmaker Working Watching The Clock

How To Build A Highlevel Funnel In Under An Hour

June 17, 20253 min read

Launching Your Course Empire: A Step-by-Step Guide for Beginners with High Level Introduction

In today's digital age, course creation has become a lucrative venture for many entrepreneurs. If you're like Jenny, a determined individual looking to leverage YouTube and Facebook to launch an online course, you're in the right place. With tools like High Level, it's easier than ever to get started. This post will guide you through creating a successful course launch strategy, from building your funnel to setting up email automation—all while keeping things simple and effective.

Welcome to the High Level Community

First off, welcome to the world of High Level, a comprehensive platform designed to help you manage every aspect of your online business. Whether you've used Kajabi or Udemy before, you'll find that High Level offers a powerful yet approachable suite of tools. In this guide, we’re going to break down Jenny’s approach to launching a course and explore the step-by-step process to ensure your success.

Step 1: Setting Up Your Funnel

To start, you want to guide your audience from discovering you on YouTube to signing up for your course. Here's how:

1. Create an Opt-In Form: Begin by crafting a simple form to collect email addresses. You can do this on High Level by heading to the ‘Sites’ section and creating a form. This form will be the gateway to your free course.

2. Design Your Funnel: Next, build a basic funnel. Start with a welcome page where users can opt-in and a confirmation page that acknowledges their sign-up. Ensure domains are set up in your settings to host these pages.

3. Maintain Simplicity: Focus on creating an MVP (Minimum Viable Product) for your funnel. Start small, then iterate and improve as you gather feedback from your users.

Step 2: Automating Your Email Sequence

Once your funnel is ready, it’s time to set up an email sequence that delivers your free course lessons:

1. Create an Email Workflow: Design a series of emails in High Level to deliver one lesson per day. This keeps your audience engaged and eagerly anticipating the next lesson.

2. Tracking and Optimization: Use tags and contact fields to track where your leads are coming from. This is crucial for monitoring the success of your campaigns.

Step 3: Launching Your Paid Course

With your audience warmed up and engaged, it’s time to introduce them to your paid course:

1. Set Up a Sales Page and Order Form: Using High Level, create a dedicated sales page and an order form for your course. Here, visitors can learn more and make a purchase.

2. Integrating Payments: Ensure that your order form is linked to your pricing strategy—whether it’s a one-time fee or a subscription model.

3. Automation for Order Management: Once an order is placed, use High Level to automate confirmations and, if applicable, grant access to course materials.

Conclusion

Launching a course doesn’t have to be daunting. By following this structured approach, you’ll create an efficient and effective system that nurtures your audience and guides them seamlessly from a free opt-in to a paid purchase. Remember, your first version doesn’t have to be perfect; focus on launching your MVP and refining your processes as you grow. Best of luck in your entrepreneurial journey, and here’s to making your first million!
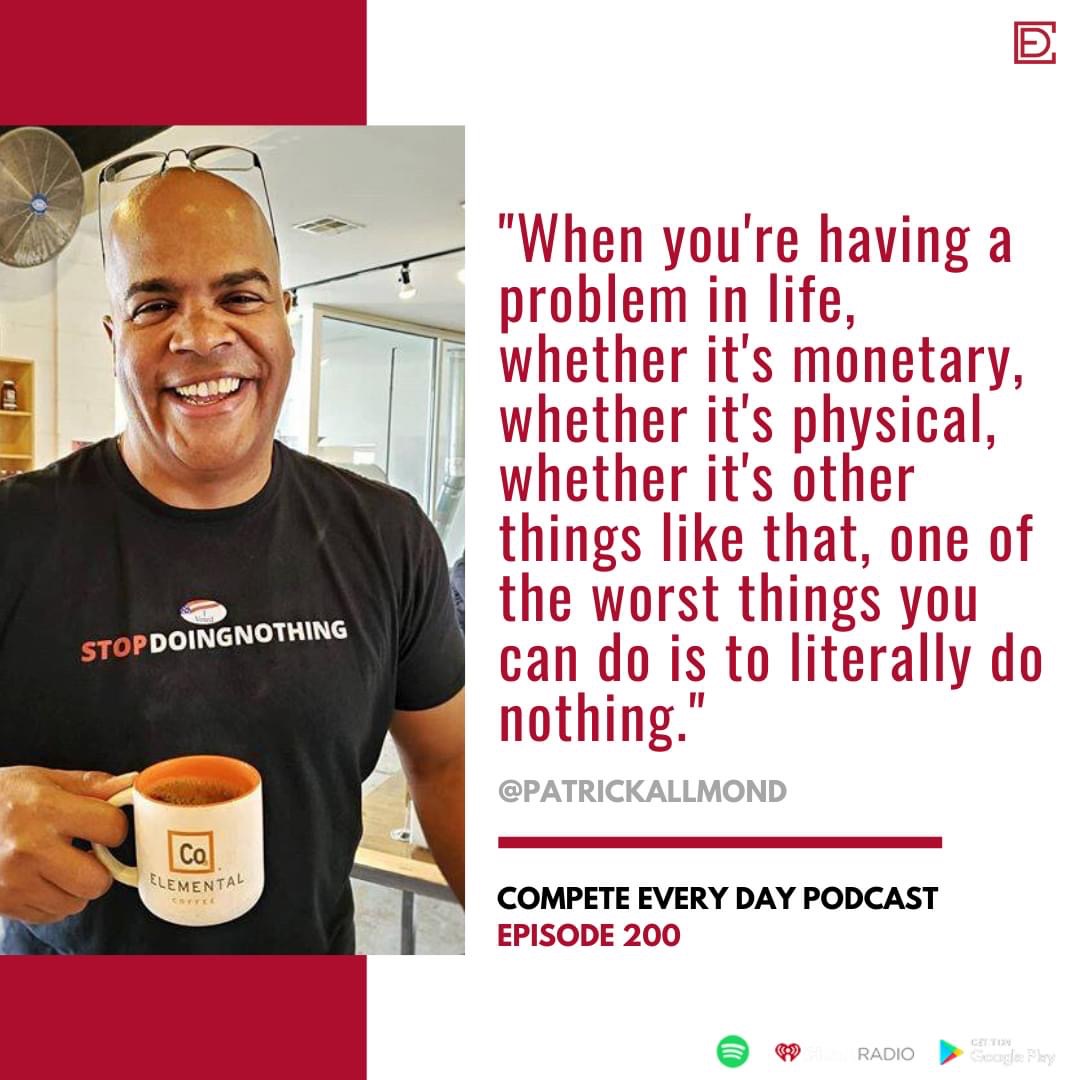
Patrick Allmond is a mutli-decade veteran of the marketing world. When he isn't traveling around the world speaking and showing people how to grow better faster you'll find him at the gym, flying a plane, or tickling the ivories learning piano. He can also be seen on several news affiliates for Fox/NBC/CBS/ABC/Telemundo talking business and social media safety in workplace and in our kids schools.

Patrick Allmond

Patrick Allmond is a mutli-decade veteran of the marketing world. When he isn't traveling around the world speaking and showing people how to grow better faster you'll find him at the gym, flying a plane, or tickling the ivories learning piano. He can also be seen on several news affiliates for Fox/NBC/CBS/ABC/Telemundo talking business and social media safety in workplace and in our kids schools.

Instagram logo icon
Youtube logo icon
Back to Blog
Image

Innovation

Fresh, creative solutions.

Image

Integrity

Honesty and transparency.

Excellence

Excellence

Top-notch services.

COMPANY

3030 NW Expressway, Suite 300

Oklahoma City, OK 73112

We are one of the original Highlevel trained and certified agencies with decades of marketing experience . When you want the best, check for this logo.

Highlevel Certified Agency - Patrick Allmond

RECENT BLOG POSTS

Image of Mr Playmaker Working Watching The Clock

How To Build A Highlevel Funnel In Under An Hour

June 17, 20253 min read

Launching Your Course Empire: A Step-by-Step Guide for Beginners with High Level Introduction

In today's digital age, course creation has become a lucrative venture for many entrepreneurs. If you're like Jenny, a determined individual looking to leverage YouTube and Facebook to launch an online course, you're in the right place. With tools like High Level, it's easier than ever to get started. This post will guide you through creating a successful course launch strategy, from building your funnel to setting up email automation—all while keeping things simple and effective.

Welcome to the High Level Community

First off, welcome to the world of High Level, a comprehensive platform designed to help you manage every aspect of your online business. Whether you've used Kajabi or Udemy before, you'll find that High Level offers a powerful yet approachable suite of tools. In this guide, we’re going to break down Jenny’s approach to launching a course and explore the step-by-step process to ensure your success.

Step 1: Setting Up Your Funnel

To start, you want to guide your audience from discovering you on YouTube to signing up for your course. Here's how:

1. Create an Opt-In Form: Begin by crafting a simple form to collect email addresses. You can do this on High Level by heading to the ‘Sites’ section and creating a form. This form will be the gateway to your free course.

2. Design Your Funnel: Next, build a basic funnel. Start with a welcome page where users can opt-in and a confirmation page that acknowledges their sign-up. Ensure domains are set up in your settings to host these pages.

3. Maintain Simplicity: Focus on creating an MVP (Minimum Viable Product) for your funnel. Start small, then iterate and improve as you gather feedback from your users.

Step 2: Automating Your Email Sequence

Once your funnel is ready, it’s time to set up an email sequence that delivers your free course lessons:

1. Create an Email Workflow: Design a series of emails in High Level to deliver one lesson per day. This keeps your audience engaged and eagerly anticipating the next lesson.

2. Tracking and Optimization: Use tags and contact fields to track where your leads are coming from. This is crucial for monitoring the success of your campaigns.

Step 3: Launching Your Paid Course

With your audience warmed up and engaged, it’s time to introduce them to your paid course:

1. Set Up a Sales Page and Order Form: Using High Level, create a dedicated sales page and an order form for your course. Here, visitors can learn more and make a purchase.

2. Integrating Payments: Ensure that your order form is linked to your pricing strategy—whether it’s a one-time fee or a subscription model.

3. Automation for Order Management: Once an order is placed, use High Level to automate confirmations and, if applicable, grant access to course materials.

Conclusion

Launching a course doesn’t have to be daunting. By following this structured approach, you’ll create an efficient and effective system that nurtures your audience and guides them seamlessly from a free opt-in to a paid purchase. Remember, your first version doesn’t have to be perfect; focus on launching your MVP and refining your processes as you grow. Best of luck in your entrepreneurial journey, and here’s to making your first million!
Back to Blog